русский
 Français
 한국어
한국어 عربى
عربى Español
 中文简体
中文简体Rowenta Steam Iron Manual: Find Your Model, Read It, and Fix Common Issues
Admin 2026-10-16Content
- 1 Find the Manual by Reference Code, Not by Product Name
- 2 What the Manual Actually Covers
- 3 Water Rules Decide How Long the Iron Lasts
- 4 Steam, Temperature and Vertical Ironing
- 5 Descaling Is the Maintenance Step the Manual Repeats
- 6 Matching the Symptom to the Right Page
- 7 When the Manual Is Gone or the Model Is Retired
Most problems that send people hunting for a Rowenta steam iron manual are not faults. They are settings, water quality, or scale. An iron that spits water onto a silk blouse is almost always running below the steam temperature range, and an iron that stops steaming after six months is usually scaled up in a hard water area. Both answers are printed in the manual for your exact model, and finding that manual takes about two minutes once you know where to look.
The important catch is that Rowenta does not publish one manual for every iron. It publishes a page and a downloadable instruction file for each model reference, so identifying the reference code comes before reading anything.
Find the Manual by Reference Code, Not by Product Name
Rowenta labels its irons in two ways. The name on the box, such as Effective, Focus or Steamforce, describes a product family. The reference code printed on the iron describes the exact version, and that is the code the manual is filed under. Two irons that look identical on a shelf can carry different references, different wattages and different steam systems.
Where to look on the iron
- The rating plate on the heel of the soleplate or on the underside of the body, near the water tank.
- A reference beginning with letters such as DW or DX, followed by four or five digits.
- The wattage and voltage, which tell you whether the file for your region applies.
- A separate commercial or service code, often shown on the support page rather than on the packaging.
With the reference in hand, search the brand's instructions-for-use library rather than a general search engine. Manuals there are grouped by category, and steam irons sit under linen care. Each model page holds a short set of frequently asked questions plus instruction files in several languages.
One detail catches people out: the same iron sold in different countries is documented on different regional sites. If you live in a 220 to 240 volt market, use that regional site, because the safety and descaling text can differ from the North American file. If the model page has been retired, find the closest reference from the same generation. Within one family, the fill limits, the anti-calc routine and the safety wording change very little.
What the Manual Actually Covers
Six blocks do almost all the work. If you only read one, read the temperature table.
- Safety and placement: heat-up time, resting position, cord handling and auto shut-off behaviour.
- Filling: water quality, the maximum mark, and what must never go into the tank.
- The temperature and steam table.
- Vertical steam and burst steam, including the distance to hold the iron from the garment.
- Anti-calc, self-clean and the descaling rhythm for your water hardness.
- Troubleshooting and warranty conditions.
The temperature table is the part worth reading twice
Water spots, shiny patches and scorch marks almost always trace back to a mismatch between fabric and setting. The manual prints that table as a compatibility chart, not as a suggestion.
| Fabric | Temperature setting | Steam | Practical note |
|---|---|---|---|
| Linen, heavy cotton | Highest setting | Full steam | Let the iron reach temperature for about two minutes before steaming. |
| Cotton blends, denim | High to medium | Steam or burst | Burst steam works better than continuous steam on thick seams. |
| Wool | Medium | Steam, or dry with a cloth | Press rather than slide to avoid giving the surface a shine. |
| Silk, viscose | Low | Mostly dry, light steam | Steaming below the threshold is the usual cause of water spots. |
| Polyester, nylon, elastane | Lowest setting | Dry only | Steam heat alone can mark some synthetic finishes. |
A rule that follows from the table: steam belongs on medium and high settings. Below that, the soleplate is not hot enough to turn water into dry steam, and what lands on the fabric is droplets.
Water Rules Decide How Long the Iron Lasts
The filling section is short and most owners skim it. It is also the section that decides whether the iron still steams properly after two years.
- Tap water is normally acceptable, but in very hard water areas the manual usually recommends half tap water and half distilled.
- Never add perfume, fabric softener, vinegar or a chemical descaler to the tank. These attack internal seals and the steam chamber.
- Fill only when the iron is unplugged and cool, and stop at the maximum line rather than above it.
- Empty the tank after each session in hard water areas, and store the iron standing upright.
Steam, Temperature and Vertical Ironing
Two settings have to agree before an iron steams well: the temperature selector must sit inside the steam range, and the steam control must be set to the level the manual lists for that fabric. If the selector is below the steam zone, most models cut the steam automatically, which is why a working iron can look like a broken one.
Vertical steam is the function people use most and read about least. Hold the iron upright with roughly 15 to 20 centimetres between soleplate and garment, then press the steam trigger in short bursts instead of holding it down. Continuous pressing cools the plate and produces wet steam. Bursts keep the temperature stable and lift the fibres rather than soaking them.
Auto shut-off is a feature, not a fault. Most irons in this class switch off after about eight minutes standing upright and about thirty seconds lying flat. Moving the iron or pressing the trigger wakes it again.
Descaling Is the Maintenance Step the Manual Repeats
Scale is the most common reason a steam iron loses performance. Manuals usually offer three tools against it: a self-clean or calc-away routine, a removable anti-calc valve, and a recommended frequency based on water hardness, often monthly in hard water areas.
- Fill the tank to the maximum mark and set the temperature to its highest position.
- Let the iron heat until the indicator light goes out, then unplug it and hold it over a sink.
- Press the self-clean button or the steam trigger repeatedly so water flushes scale out through the steam holes.
- Shake the iron gently while it is still warm to loosen residue inside the chamber.
- Repeat with fresh water until it runs clear, then empty the tank completely.
The same logic applies to any handheld steamer or garment steamer: scale builds up wherever water is boiled, and the flush routine matters more than the label on the housing. If you want a longer walkthrough of the process, this guide on how to clean the scale of a steam iron covers the same steps in more detail.
Matching the Symptom to the Right Page
Most complaints map to one of six entries. Check the table before concluding that the iron needs replacing.
| Symptom | Usual cause | What the manual says |
|---|---|---|
| No steam at all | Temperature selector below the steam range, or empty tank | Raise the temperature to the steam range and refill to the maximum mark. |
| Water droplets on the fabric | Iron not yet hot, or steam used on a low setting | Wait for the indicator light to go out, then steam on medium to high settings only. |
| Brown or white marks on the fabric | Starch or scale on the soleplate or in the steam holes | Clean the cooled soleplate and run the self-clean or descaling routine. |
| Steam fades after a few minutes | Anti-calc valve partly blocked | Remove and rinse the anti-calc valve, then use a harder-water mix. |
| Iron shuts off while in use | Auto shut-off triggered while the iron stood upright | Move the iron or press the steam trigger to wake it. This is safety behaviour, not a defect. |
| Iron sticks and drags | Residue from fabric softener or starch | Wipe the cooled soleplate and avoid spraying starch directly onto the plate. |
When the Manual Is Gone or the Model Is Retired
A missing manual is rarely a real problem. The reference code on the rating plate is enough to pull the correct file, and the temperature table, fill limits and descaling routine change very little between generations of the same iron. If the model page has disappeared, use the closest surviving reference from the same family and keep the same habits: fill to the mark, steam only inside the steam range, and descale on schedule.
It becomes harder when an iron is long out of production and no document survives. At that point the choice is repair or replacement, and for an older iron with a cracked tank or a failed heating element, replacement usually wins on cost.
For importers, distributors and private label buyers, documentation is a purchasing criterion rather than an afterthought. A manual that matches the exact reference, in the languages of the destination market, with an accurate temperature table and clear safety text, is part of the product package rather than a favour. That is the standard to request before placing a tooling order, and it is worth reviewing how a supplier describes its own production and quality systems, as this company profile does, before you commit to a program.
Two formats are worth comparing when the goal is replacing a tired iron rather than repairing it. Rotatable two-in-one models switch between flat ironing and vertical steaming, which suits markets where buyers want one appliance instead of two:
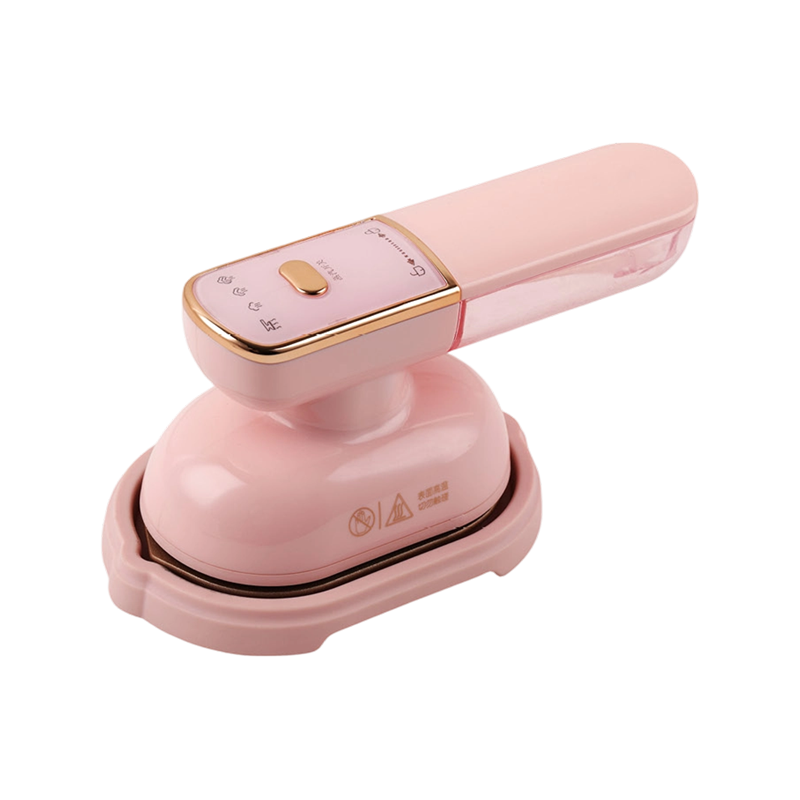
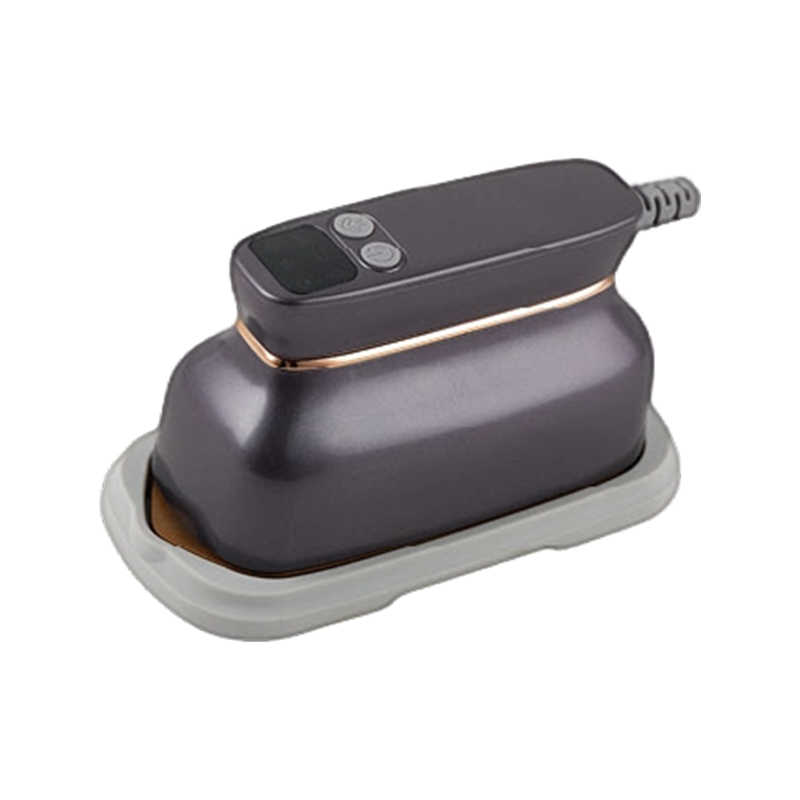 LCD Display 2-in-1 Rotatable Garment Steamer and Steam Iron MW-819Rotatable 2-in-1 design offers three steam levels, LCD control, large constant-temperature panel, and auto shut-off for demanding ironing tasks.View Product →
A second option in the same family adds an LED display so the steam level and temperature are visible at a glance, which reduces support questions from end users:
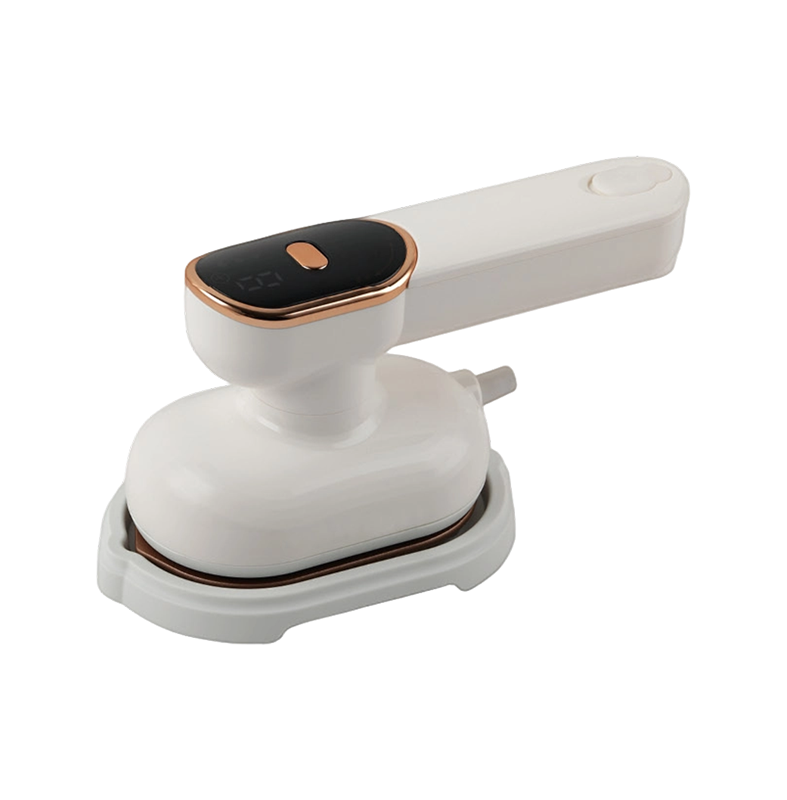
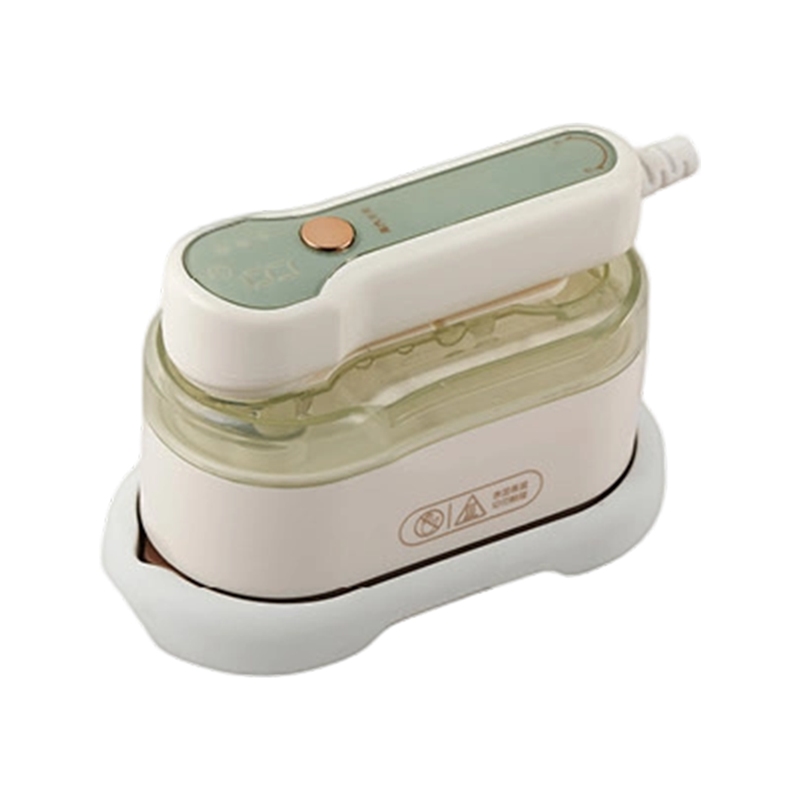 LED Display 2-in-1 Rotatable Garment Steamer and Steam Iron MW-821 / MW-821AVisible LED steam settings and preheat countdown suit users comparing safety versions, with MW-821 auto shut-off and streamlined MW-821A.View Product →
For travel oriented ranges, dual voltage models remove the need for a converter and let one SKU serve several markets with different mains standards:
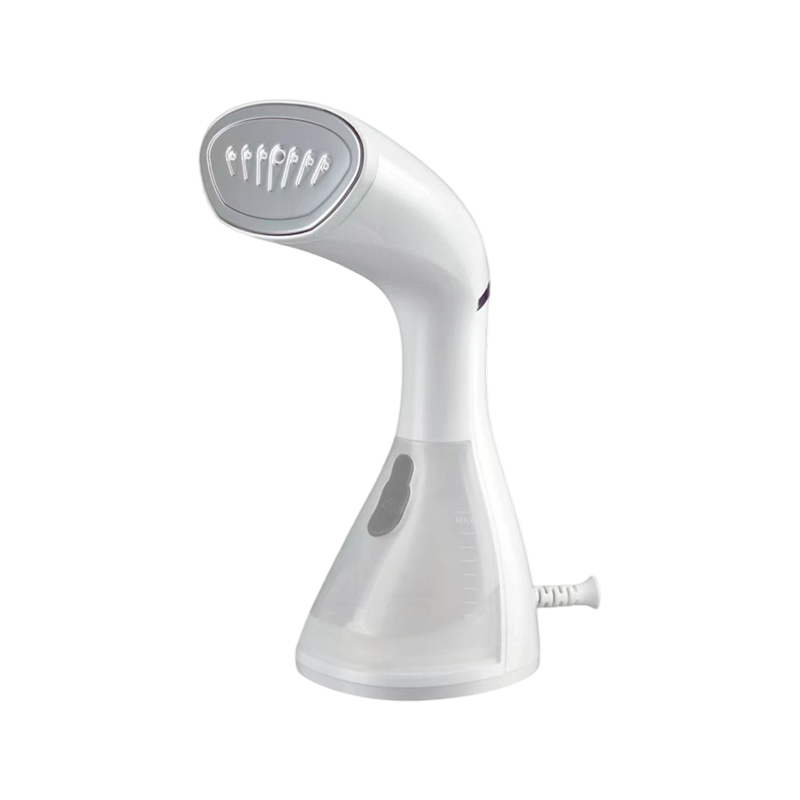
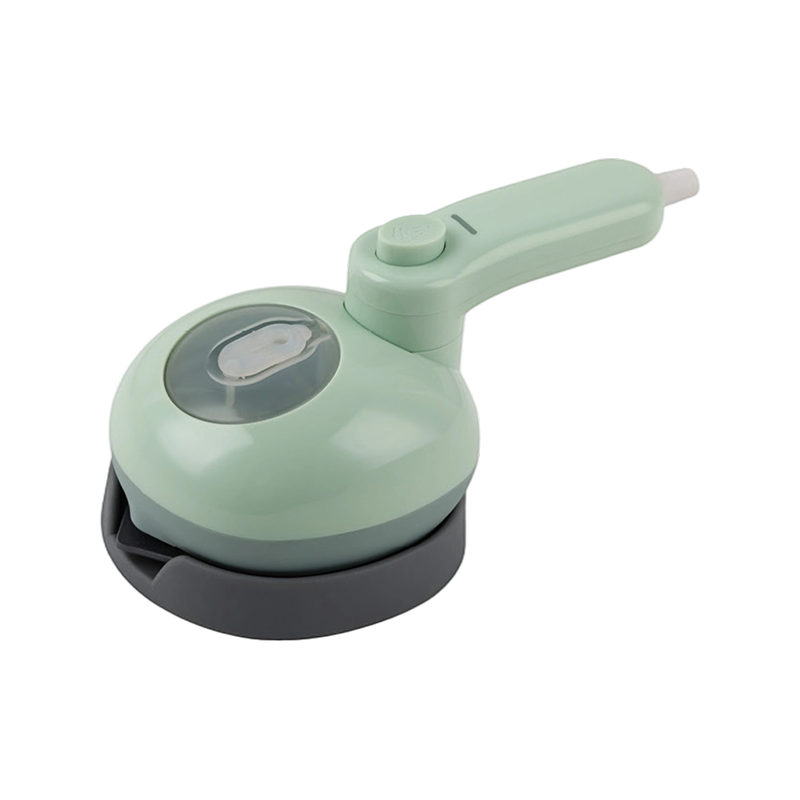
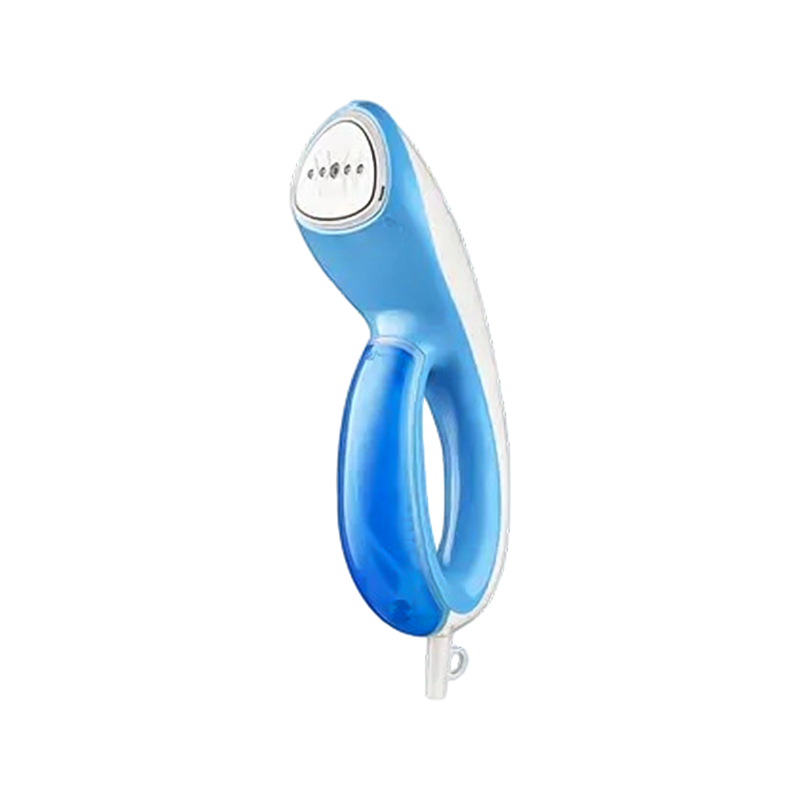
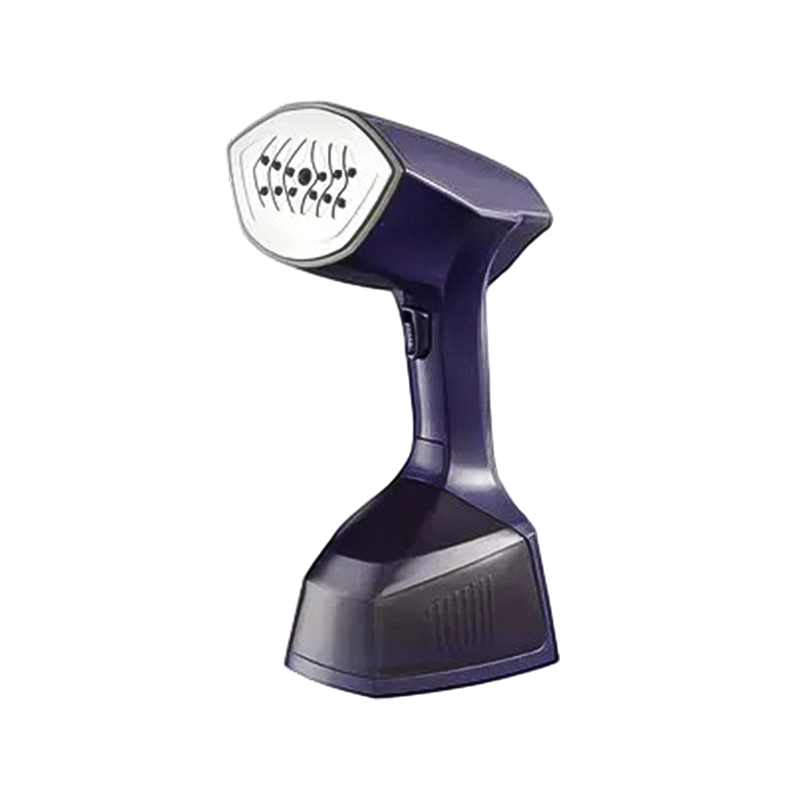
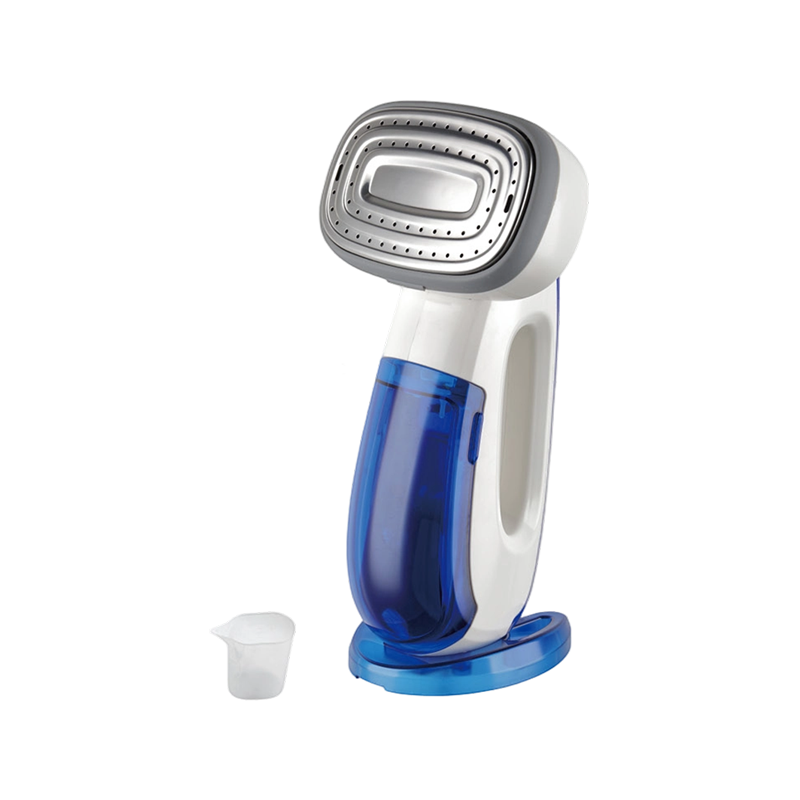
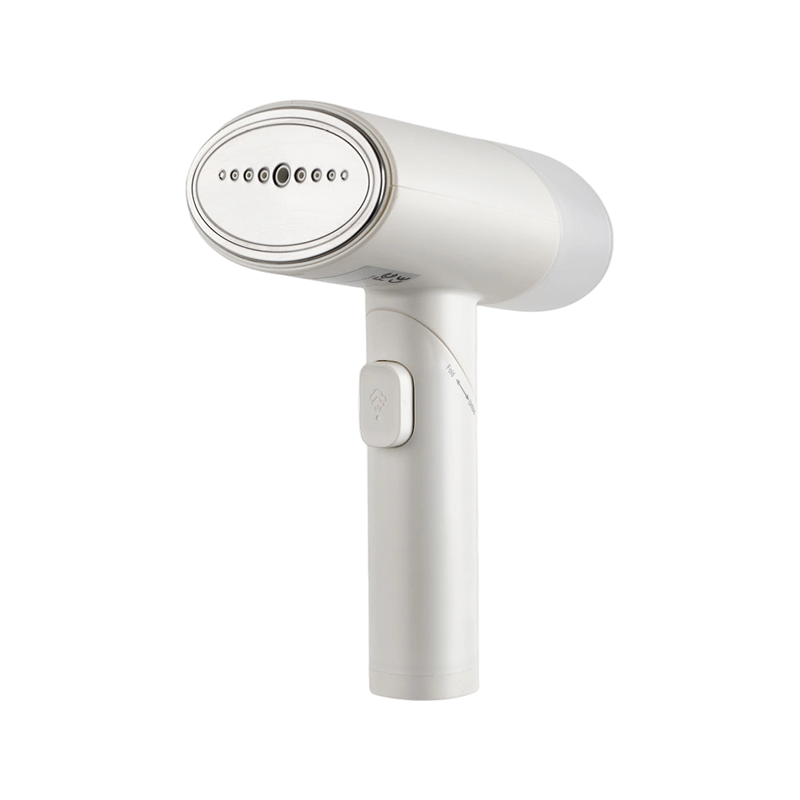 Dual Voltage Handheld Travel Garment Steamer MW-813Foldable 110-220V handheld steamer with detachable 150ml tank lets one travel-oriented SKU serve different mains standards without a converter.View Product →
A Rowenta steam iron manual is not a formality to file away. It is the reference that explains why the iron spits, how much water it wants, which fabrics tolerate steam, and how often the chamber needs flushing. Read the reference code first, then the temperature table, then the descaling page. Those three items answer nearly every question owners bring to a repair counter.
For exclusive deals and latest offers, sign up by entering your email address below.