русский
 Français
 한국어
한국어 عربى
عربى Español
 中文简体
中文简体How Do You Iron Clothes: A Step-by-Step Guide to Wrinkle-Free Results at Home
Admin 2026-09-04Content
You pull a cotton shirt from the wardrobe twenty minutes before a meeting and the collar still carries the crease from the last time it was folded. That is the moment ironing stops being background chore and becomes a timed operation, and the difference between a crisp shirt and a rushed one comes down to method rather than effort. The short answer to how do you iron clothes is this: match the soleplate temperature to the fabric, work from the smallest detailed parts to the largest flat panels, let steam rather than heavy pressure relax the wrinkles, and hang the garment the second you finish. Do those four things and most shirts, trousers, and household linens come out smooth, without scorch marks, shine, or stretched seams. The sections below cover the setup, the numbers behind the heat, the exact pressing order, and the points where a steamer beats a flat plate.
Set Up Before You Heat Up
Good results start before the iron is hot. A wobbly board or a dirty soleplate will undo careful technique, so run through a short checklist first.
- A stable ironing board with a snug, heat-reflective cover, since a loose cover creases fabric from underneath.
- A clean soleplate, because sticky residue from fused synthetics transfers straight onto the next garment.
- Water in the tank, preferably distilled where tap water is hard, since limescale particles spit onto light fabrics as brown dots.
- A spray bottle for dry, stubborn creases and a clean cotton cloth to use as a pressing cloth.
- Empty hangers within reach, because garments that cool on the board crease again.
Sort the pile by temperature, synthetics and delicates first, cotton and linen last, and heat the iron upright on its heel rest while you work. Slightly damp garments press far better than bone-dry ones; if the laundry has dried completely, a fine mist of water revives the fibers and roughly halves the effort.
Match the Heat to the Fabric
Every care label hides the same information in its iron symbol: one dot means low, two dots mean medium, and three dots mean high. When the tag is missing, the fiber type alone is a reliable guide, and the chart below collects the working ranges that most garment engineers design around.
The bars make the safe working order obvious at a glance. Synthetic fibers such as polyester, nylon, and acrylic sit at the low end because they can glaze or melt well below 150 degrees Celsius. Silk and wool occupy the middle band, where a pressing cloth separates a clean finish from a shiny scorch. Cotton and linen only relax properly near the top of the scale, which is why they reward full steam and slow, firm passes. Read the chart from bottom to top and you have your session plan: sort the pile the same way, synthetics first, linen last, and the dial almost never needs to move backward. If a garment has no label at all, test a hidden inside seam on a low setting before committing the whole piece.
How to Iron Clothes Step by Step
Sequence matters more than speed. Start where the detail is densest, the collar, cuffs, and plackets, and finish with the wide panels where the iron can move freely, so a slipped elbow never drags across already-pressed fabric. If your appliance is a 2-in-1 steam iron rather than a classic plate, the pressing order stays the same while the water and steam handling differs slightly, and our guide on how to use a steam iron covers filling, preheating, and descaling in detail.
A Dress Shirt
- Press the collar flat, points away from you, working from the points toward the center on the back first, then the front, so edge wrinkles are pushed inward rather than trapped.
- Unbutton and open each cuff fully, press the inside, then the outside, and never iron over the buttons.
- Lay one sleeve flat with the seam aligned along its lower edge and press from cuff toward shoulder, then repeat on the other side.
- Drape the yoke across the narrow end of the board and press outward from the center.
- Smooth and press the back panel, working from the yoke down.
- Finish with the front panels, guiding the pointed tip between the buttons; pressing directly on them can crack a button or imprint its shape.
- Hang the shirt immediately and fasten the top button so it cools in shape.
Turn dark colors and prints inside out, or use a pressing cloth, so the plate never leaves a shine. For creases that resist a normal pass, use the steam burst and let the moisture do the work; pressing harder only stretches fibers and flattens the weave.
Trousers
Press the pockets first with the trousers inside out, because a bulging pocket prints its shape through the leg. Set the waistband over the narrow end of the board and rotate it as you press. For the legs, match the inner and outer seams so one leg stacks on the other, press with light pressure, and rotate as each side smooths out. Where a sharp crease is wanted, fold the leg along its existing crease line and press firmly with a burst of steam; for a soft, casual finish, simply smooth the leg flat with no fold.
Sheets and Large Linens
Fold large items into quarters on the board and press each layer in turn to avoid constant repositioning. Dampen the fold lines with the spray bottle, since folded cotton holds its hardest creases exactly on those lines, and drape the linen immediately after pressing.
What Heat-Up Times and Steam Levels Mean in Practice
Two specifications decide how a steam iron feels in daily use: how fast the plate reaches temperature and how much steam it can push through the fabric. Both vary far more between models than price alone suggests, so the charts below show typical values for the two classes buyers most often compare.
Two things stand out in this heating curve. A 1600W to 2000W plate typically crosses 150 degrees Celsius in about a minute, so you can be pressing a first collar while a compact unit is still warming. Both curves then flatten near the top, which reflects how thermostats cycle power to hold a stable temperature instead of adding heat forever. A 1000W unit is not worse, it is simply slower and lighter, a trade that suits occasional users and travelers. The practical takeaway is to plug in and stand the iron upright while you sort the board, because by the time the first garment is laid flat the tool is usually ready. Always let the indicator light cycle off before the first pass so the plate sits at temperature rather than still climbing.
Heat only softens fibers; steam is what actually relaxes a crease. Output scales with the selected steam level, and the step between levels is easy to see.
Steam output in grams per minute separates the levels of a multi-level steam iron far more clearly than temperature alone. Level 1 is a gentle mist suited to wool and touch-up work, while levels 3 and 4 push enough vapor through the plate to relax deep cotton creases in a single pass. The difference compounds over a full basket of laundry, because at roughly double the output a higher level finishes the same shirt in noticeably fewer passes and less arm time. Higher levels also drain the tank faster, so a larger reservoir extends the session before refilling. Match the level to the fabric rather than defaulting to maximum, and save burst steam for the stubborn creases that steady steam cannot lift.
Where the laundry pile is deep, wattage and tank size are what keep a session moving, which is exactly the brief behind a model such as the one below.
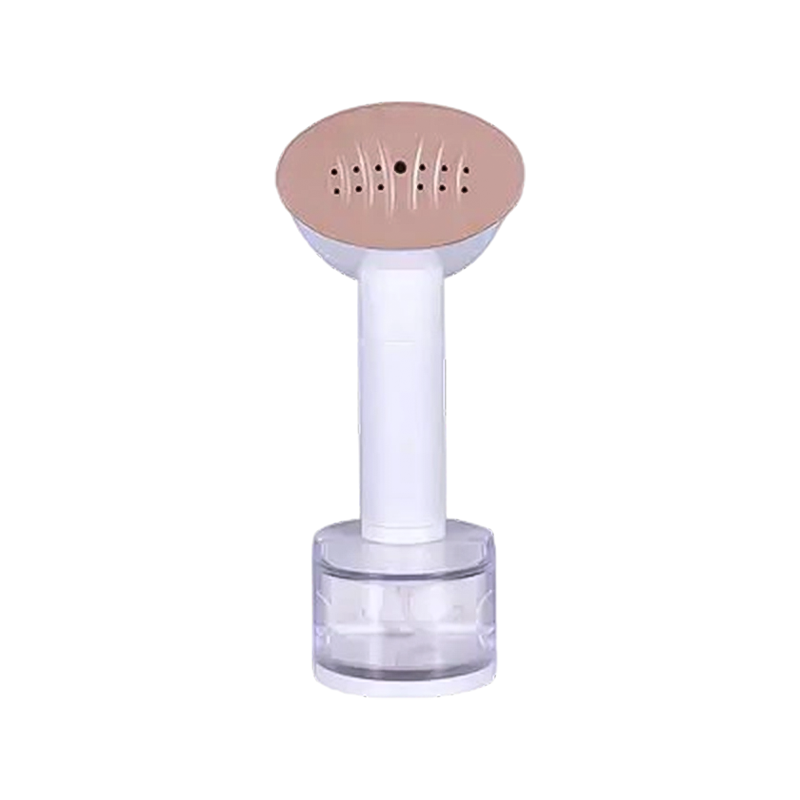
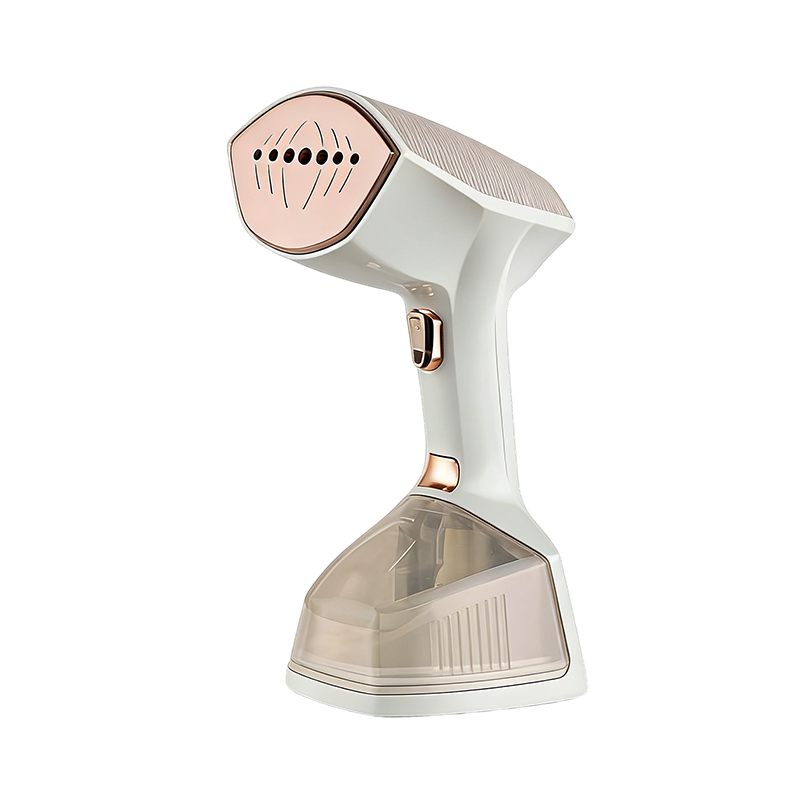 MW-816 High-Power Handheld Garment SteamerWith a 350ml detachable tank and 1600W/2000W output, this steamer keeps long laundry sessions moving, offering three steam levels and vertical or horizontal use for different fabrics.View Product →
Flat Iron or Handheld Steamer: Choose by the Job
A flat iron and a handheld steamer overlap less than most people assume, and the right answer depends on the wardrobe rather than the marketing. The radar chart compares the two tools across six everyday dimensions on a simple five-point scale.
The radar comparison shows why neither tool makes the other obsolete. A flat steam iron still owns the crease sharpness axis, because nothing presses a trouser pleat or a shirt collar like firm contact on a hard surface. The steamer sweeps the fabric safety, hanging, and delicate care axes, since it never presses hard enough to shine wool or flatten pile, and it works on curtains and jackets without a board. Both score well on overall speed, though for different reasons: the iron removes creases with heat and pressure, while the steamer relaxes fibers as you sweep the hanging garment. On portability the steamer wins through lower weight and foldable handles, which matters in a suitcase. Households that dress formally most days end up keeping both, and a 2-in-1 rotatable unit collapses the choice into a single device.
Travel compresses the decision further. Board availability, voltage differences, and luggage weight all push toward a compact unit, and dual voltage models such as the MW829 and MW829D switch between 110V and 220V grids without a converter, so the tool works wherever the meeting is.
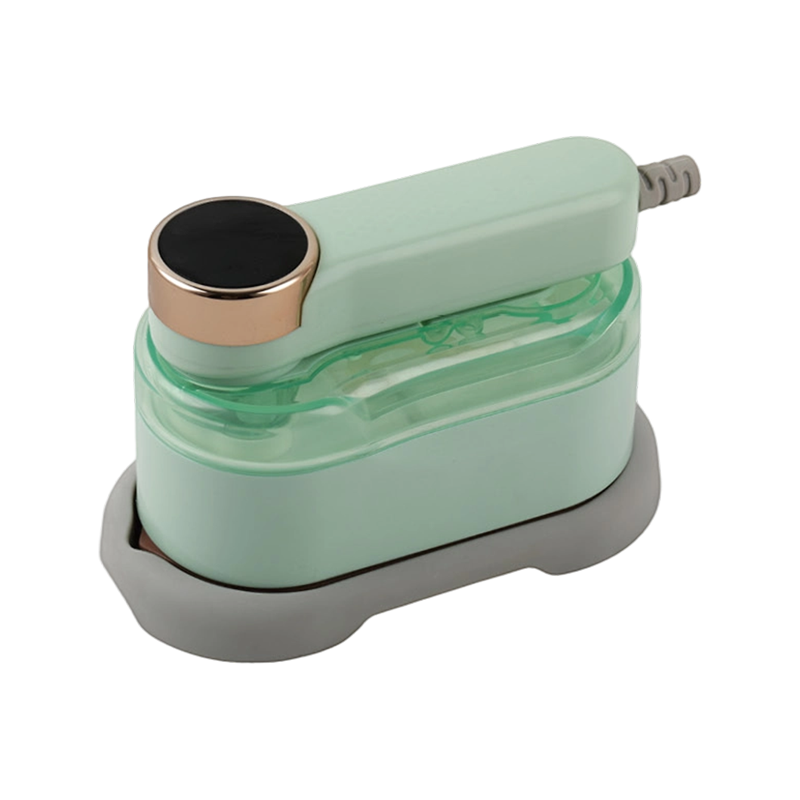
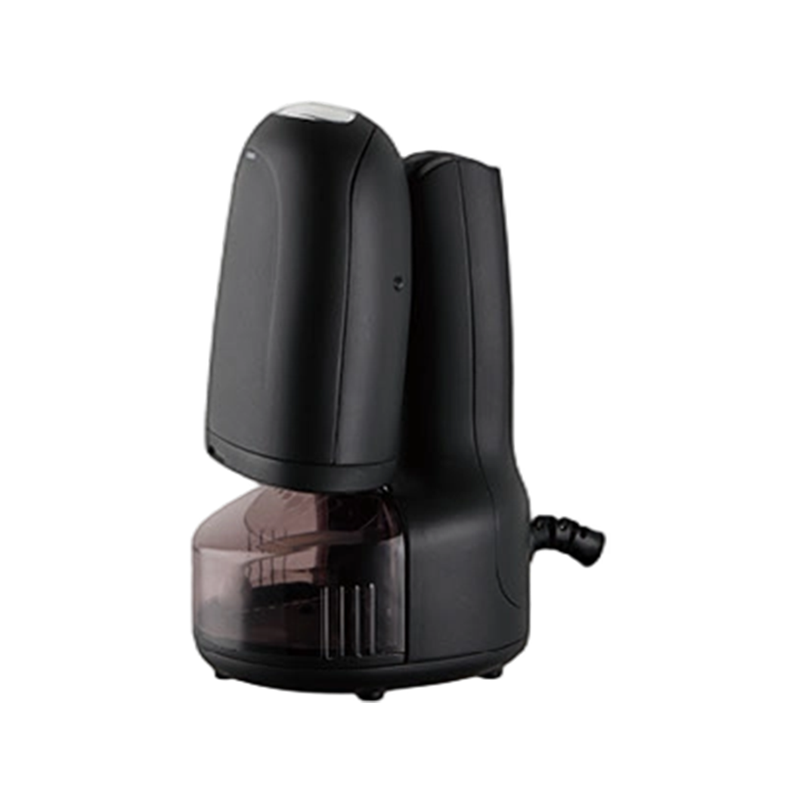 MW-829 Foldable Travel Garment SteamerA foldable head and 280ml tank make this compact steamer easy to pack, while dual voltage options let travelers switch between 110V and 220V grids without needing a converter.View Product →
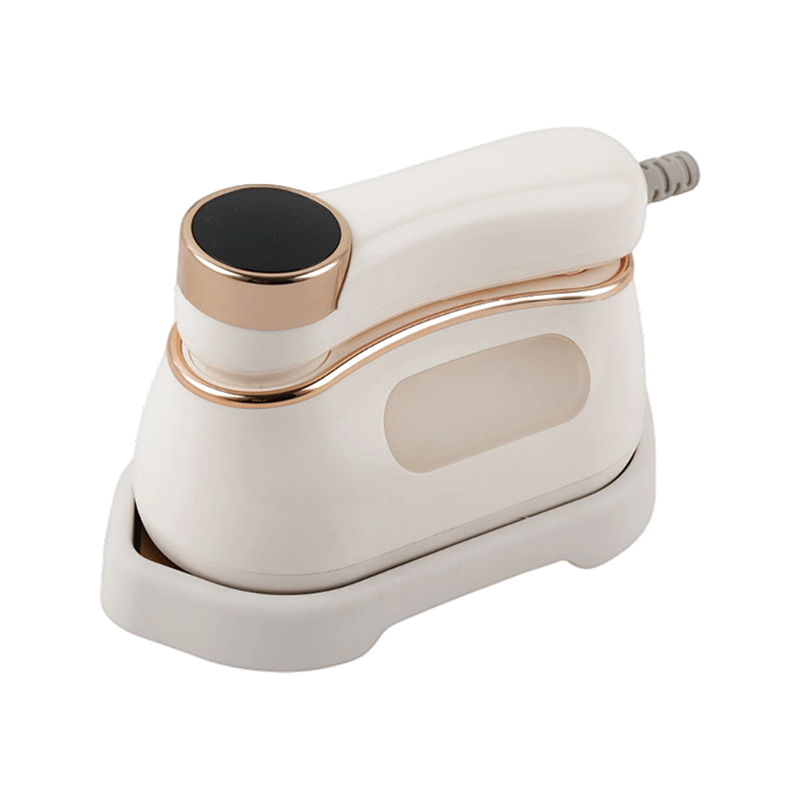
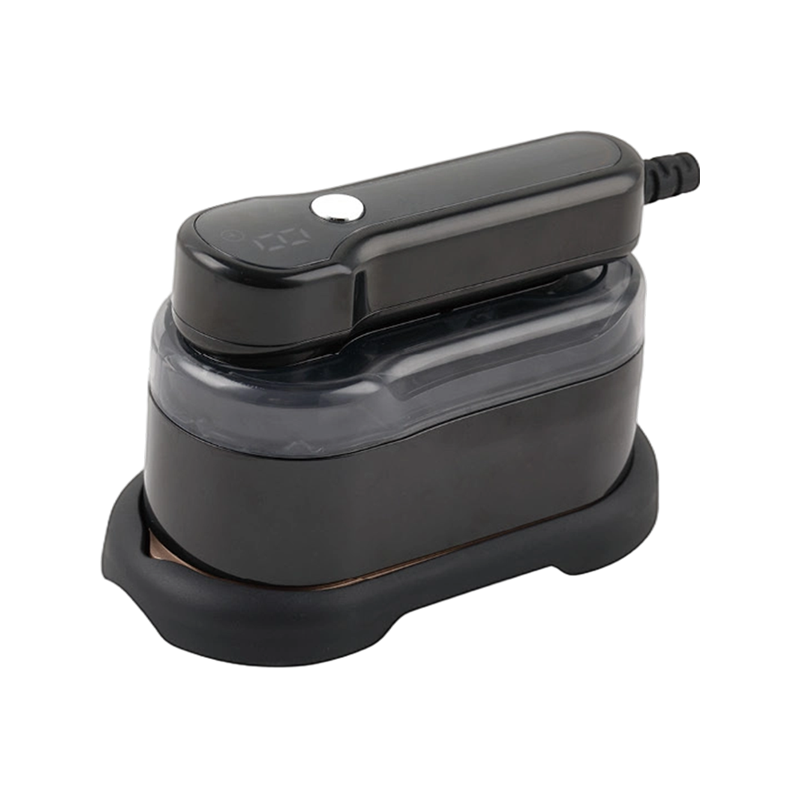
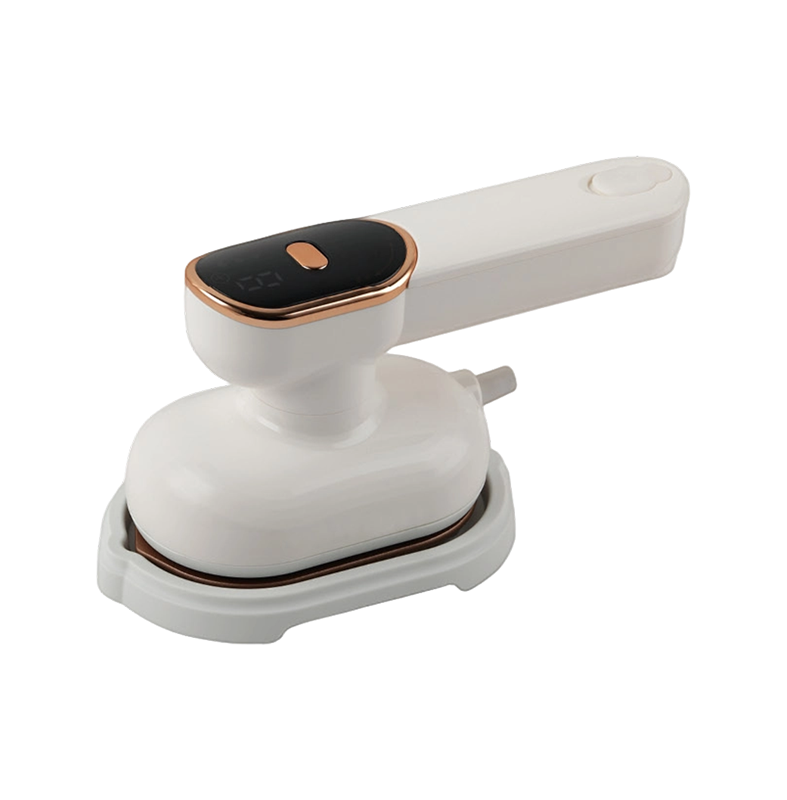
For households that want both behaviors without buying twice, a rotatable 2-in-1 design shifts between flat pressing and vertical steaming in one motion, and the MW819 below pairs that layout with an LCD readout for the current level. If the choice still feels close, our comparison of a garment steamer or an electric iron walks through the trade-offs garment by garment.
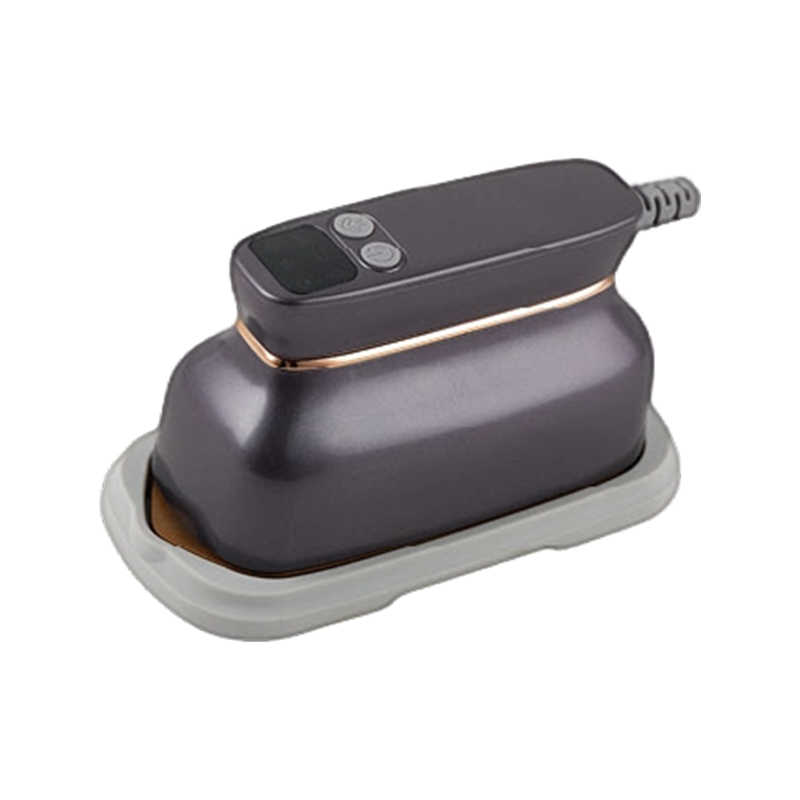 MW-819 2-in-1 Rotatable Steamer and Steam IronThe 180° rotating handle shifts between flat pressing and vertical steaming, and the LCD shows three steam levels, with auto shut-off and a low-water indicator for safer ironing.View Product →
Six Habits That Protect Fabric and Iron Alike
Most ironing damage is not bad luck; it is one of a handful of repeatable errors. The table lists the mistakes that account for the majority of ruined garments, what they actually do to the fabric, and the habit that removes the risk.
| Mistake | Typical result | How to avoid it |
|---|---|---|
| Pressing directly on buttons | Cracked buttons or shine around the threads | Use the pointed tip and work around each button |
| Starting with the hottest setting | Glazed or melted synthetic fibers | Sort low to high and test a hidden seam first |
| Resting the iron flat on the garment | Scorch marks within seconds | Stand it upright on the heel rest every time |
| Ironing stained fabric | Heat sets the stain permanently | Launder first, then iron only clean, dry items |
| Using hard tap water | Limescale spits brown spots on light fabric | Fill with distilled water and empty after use |
| Skipping the pressing cloth on wool and silk | Permanent shine on the surface | Interpose a clean cotton cloth at medium heat |
Handled this way, a full session of shirts and trousers takes minutes rather than an evening, and the results last through the day. The variables that decide the outcome, temperature control, steam output, panel material, and tank capacity, are the same ones we engineer around when building handheld steamers and 2-in-1 steam irons for buyers worldwide, so if you are sourcing rather than pressing, those are the specifications worth comparing first. Otherwise: check the label, sort low to high, let steam do the work, and hang everything the moment it is done.
For exclusive deals and latest offers, sign up by entering your email address below.