русский
 Français
 한국어
한국어 عربى
عربى Español
 中文简体
中文简体How to Iron with a Steam Iron: Temperature Settings, Techniques and Safety
Admin 2026-08-21Content
- 1 How a Steam Iron Works Before You Turn It On
- 2 Preparation Decides the Finish
- 3 Step-by-Step Ironing with a Steam Iron
- 4 Steam Iron or Garment Steamer: Where Each One Wins
- 5 Common Mistakes That Damage Fabric and the Iron
- 6 Keep Steam Flowing with Regular Maintenance
- 7 Choosing the Right Steam Iron for Your Routine
- 8 Final Checklist for Better Steam Ironing
A light cotton shirt comes out of the wash with deep creases along the collar and sleeves. The natural instinct is to press the iron down firmly and hold it still. That approach usually makes the finish worse, because a steam iron is not designed to work like a pressing block. It delivers controlled heat and a measured amount of steam that relaxes the fibres without crushing them.
The short conclusion is that ironing with steam is a technique, not a matter of force. Water, soleplate temperature, and steam output work together, and understanding them removes creases faster with less scorching risk. This guide covers preparation, the ironing sequence, and maintenance.
How a Steam Iron Works Before You Turn It On
A steam iron converts electricity into heat at the soleplate, then uses that heat to turn water into steam. When you press the steam button, steam exits through small holes and penetrates the fabric, loosening the fibre structure. A single steam pass often does more work than several dry passes.
The Core Components
Every steam iron relies on five basic parts: a water tank, a heating element, a thermostat, a soleplate, and a steam valve. The tank stores water while the element heats the soleplate, the thermostat keeps the temperature stable, and the valve controls how much water reaches the hot chamber. The steam burst button forces out a short, powerful jet of steam for stubborn creases.
Why Steam Works Better Than Dry Heat
Dry heat can set creases if the fibres are too dry. Steam adds moisture that makes the fabric pliable, so the weight and movement of the iron reshape it. For wool, silk, and blended fabrics, that moisture prevents shiny scorch marks. The same principle applies to flat irons and 2-in-1 rotatable models with vertical steaming. We cover both positions in our guide on how to use a steam iron properly.
Preparation Decides the Finish
More fabric damage happens before the soleplate touches the garment than during the ironing stroke. Preparation means checking the fibre content, choosing the correct temperature, and confirming that the water is clean. Thirty seconds of preparation makes the actual ironing faster and safer.
Match the Temperature to the Fabric
Most steam irons have a dial or digital display with temperature ranges that correspond to fabric groups. These ranges reflect the point at which synthetic and natural fibres begin to soften or melt. Nylon and acetate need very little heat, while linen can take much higher settings. The chart below shows recommended maximum soleplate temperatures for common fabrics.
Recommended maximum soleplate temperatures for common fabrics, in degrees Celsius.
The values in the chart are soleplate temperatures, not dial positions, and they vary slightly by model. The care label remains the final authority because dial numbers are only a reference. Cotton and linen tolerate high heat, while nylon and acetate need the lowest settings. For blended fabrics, set the temperature for the most delicate fibre in the blend. When in doubt, start ten degrees lower and test on an inner seam, since you cannot repair melted fabric.
Fill the Tank Correctly
Water quality directly affects steam output and the lifespan of the iron. Distilled or demineralised water is the safest choice in hard-water areas because it prevents scale inside the steam chamber. Tap water can be used occasionally, but it leaves mineral deposits that clog the steam holes. Fill the tank before plugging in the iron and never fill past the maximum line.
Step-by-Step Ironing with a Steam Iron
Once the temperature is set and the tank is filled, the ironing follows a repeatable sequence. The order matters because it lets you move from small structured parts to large flat areas without redoing anything. Use the same sequence each time and the process becomes automatic.
Preheat and Confirm the Steam Output
Plug in the iron, set the temperature, and wait until the thermostat indicator shows that the soleplate has reached the target. A typical 1500 W steam iron reaches about 200 degrees Celsius in roughly one minute on the high setting. The chart below shows a representative heating curve for a medium-power model.
Typical warm-up curve for a 1500 W steam iron, showing soleplate temperature over the first minute.
The curve is typical for a 1500 W steam iron with a stainless steel or aluminium soleplate. During the first twenty seconds, the temperature climbs quickly because the element runs at full power. The rate slows as the thermostat begins to regulate, then stabilises near the set point. Wait for that stabilisation before ironing, since a cold soleplate makes steam condense instead of penetrating the fabric. Wet spots appear when the iron is used too early.
The Ironing Sequence for a Shirt
- Collar: iron from the points toward the middle on both sides, following the collar band.
- Cuffs: unbutton the cuffs, lay them flat, and iron from the outer edge inward.
- Sleeves: fold each sleeve along the seam, iron the top side, then turn and repeat.
- Front panels: iron around the buttons without running the soleplate directly over them.
- Back and yoke: finish with the largest flat areas using long overlapping strokes.
This order starts with the smallest and most structured parts while the iron is still hot, and ends with large panels where long strokes give the cleanest result. Overlap each stroke by roughly twenty per cent so no faint ridgelines remain between passes.
Vertical Steaming for Hanging Garments
Many modern steam irons include a vertical steam function for garments that should not be flattened. Hold the iron a few centimetres away from the fabric, press the steam burst button, and move the iron from the top of the garment downward. The steam relaxes the fibres while the garment keeps its shape, which is ideal for suits, dresses, and lined jackets.
For this task, a 2-in-1 rotatable design is especially useful because the soleplate pivots between flat ironing and vertical steaming. The 4-level steam rotatable garment steamer combines dry ironing with vertical steam bursts for hanging clothes. If your routine mixes crisp shirts with light refresh jobs, vertical steaming saves time.
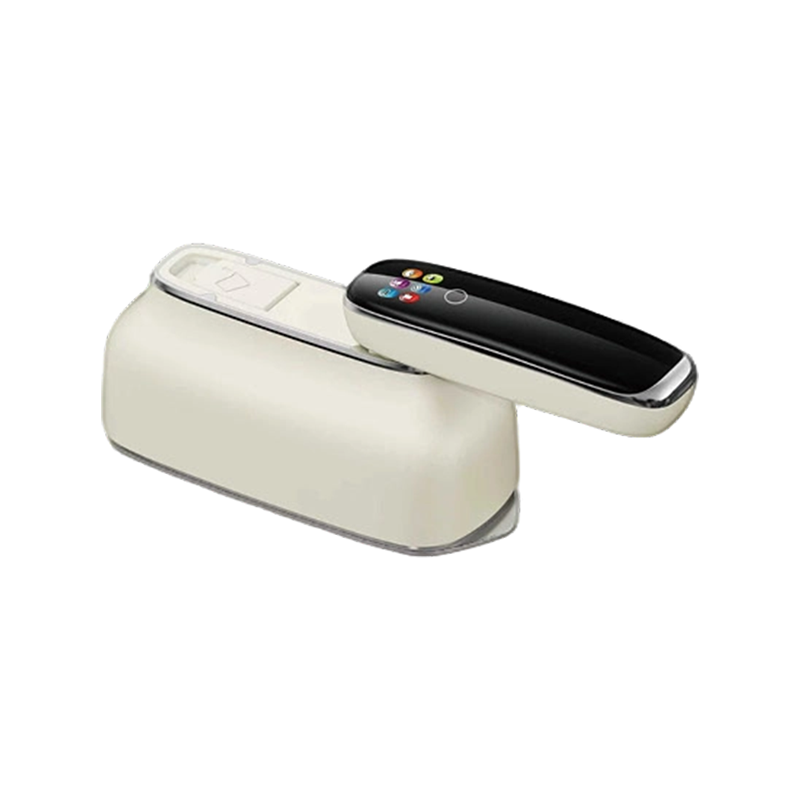 Wholesale 4 Steam Level Rotatable Garment Steam Iro MW-819F Suppliers - Ningbo MMayway is China OEM 4 Steam Level Rotatable Garment Steam Iro MW-819F suppliers and exporter factory, We custom and wholesale 4 Steam Lev...View Product →
How Much Steam Is Enough
Steam output is measured in grams per minute, and the gap between a basic and a powerful model is significant. Budget irons produce roughly 10 to 15 grams per minute, which is enough for light cottons. Mid-range models reach 20 to 25 grams and handle thicker fabrics. High-output units, including several handheld steamers and 2-in-1 steam irons, sustain 30 to 45 grams and speed up heavy linen or denim.
Continuous steam output by iron category, in grams per minute.
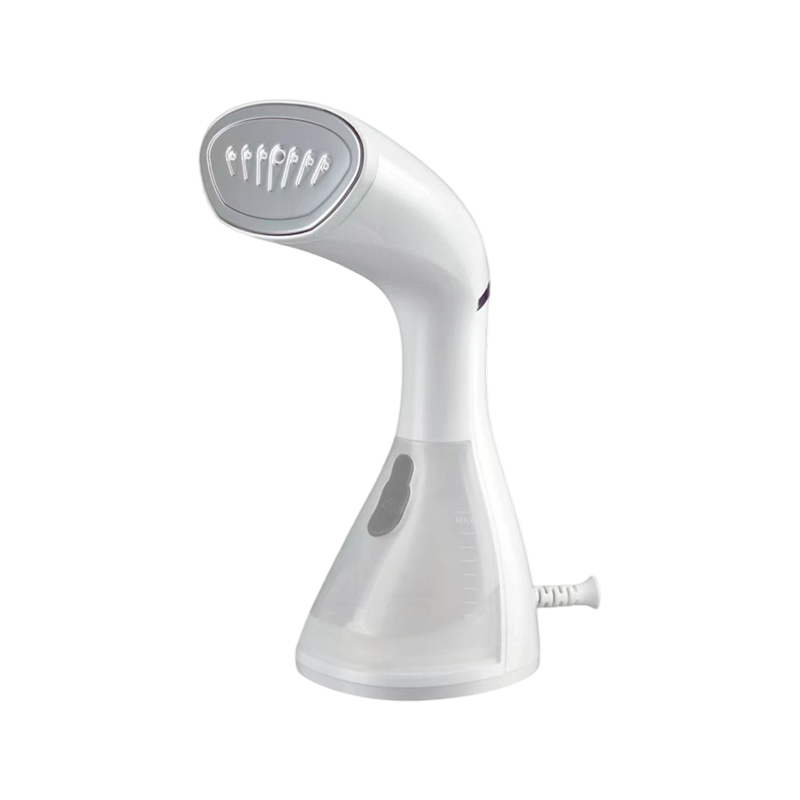
The bars compare continuous steam output across four categories of ironing equipment. A basic steam iron softens casual cotton but struggles with thick multi-layer fabric. A mid-range model is the practical minimum for weekly shirt and trouser ironing. High-output machines penetrate deeper in one pass, and professional-style units sustain output longer. If you iron linen or heavy cotton regularly, choose a higher-output model. The 1600 W to 2000 W portable garment steamer with a 350 ml tank fits this category and reduces refill stops.
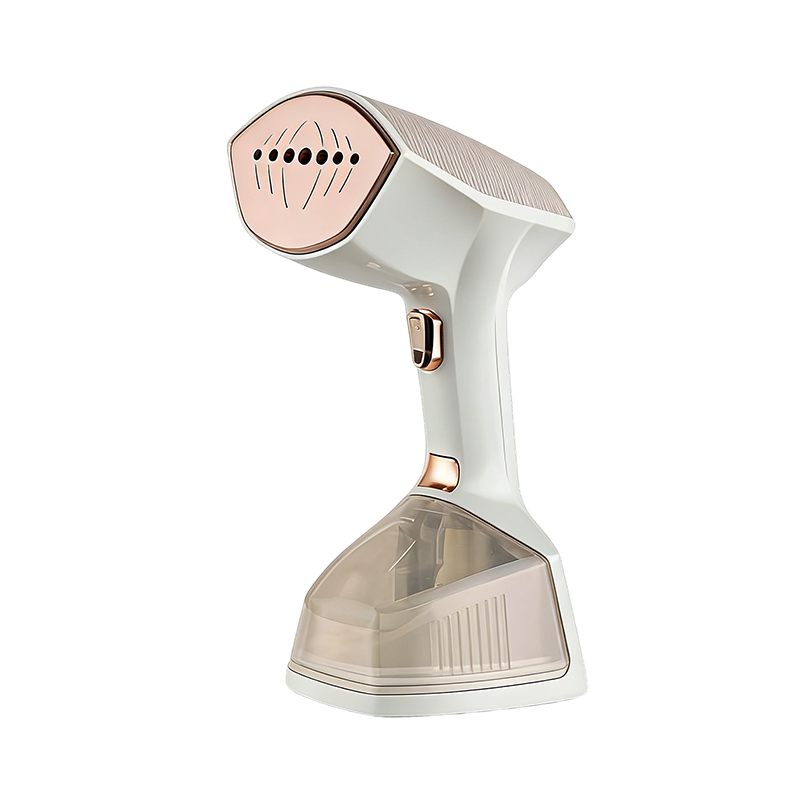 Wholesale 1600W/2000W 350ML Capacity Handleheld Portable Garment Steamer MW-816 Mayway is China OEM 1600W/2000W 350ML Capacity Handleheld Portable Garment Steamer MW-816 suppliers and exporter factory, We custom and w...View Product →
Steam Iron or Garment Steamer: Where Each One Wins
The choice is not a competition; it is a question of which task you face most often. A steam iron creates sharp creases because it presses fabric against a board. A garment steamer relaxes fibres in place, which is safer for delicate materials and quicker for hanging clothes. Many households end up using both, and our comparison of a garment steamer versus an electric iron explains the practical differences in more depth.
Six-criteria comparison of a steam iron and a handheld garment steamer, scored from one to five.
The radar chart compares a steam iron with a handheld garment steamer across six practical criteria, scored from one to five. A steam iron wins on sharp creases because it presses fabric against the board, and it handles heavy cotton better. A garment steamer leads on portability and ease of use because it needs no ironing board. The two are close on speed, but each suits different garments. For most households, a steam iron for shirts plus a handheld steamer for travel gives the best coverage.
Common Mistakes That Damage Fabric and the Iron
Even careful users make these errors. Each one has a simple prevention.
- Ironing over stains: heat sets protein and sugar stains permanently, so treat stains before ironing.
- Pressing too long in one spot: keep the iron moving to avoid scorching and shiny patches on wool and synthetics.
- Using tap water in hard-water areas: scale blocks the steam chamber and vents, so use distilled water.
- Forgetting to empty the tank: leftover water leaks and leaves mineral deposits, so drain after every use.
- Ironing over buttons and zips: hard parts can scratch the soleplate, so work around them with the tip of the iron.
The most damaging error is ignoring the care label. Labels state the maximum safe temperature, and exceeding it can melt synthetics, yellow cotton, or shrink and shine wool.
Keep Steam Flowing with Regular Maintenance
A steam iron loses performance gradually, and scale is the usual cause. In hard-water areas, descale every four to six weeks with equal parts water and white vinegar. Fill the tank, heat the iron, and press the steam button repeatedly to flush the chamber, then steam through a cloth to remove the smell.
Clean the soleplate while it is warm but unplugged, using a soft cloth with mild soap. Avoid abrasive pads and metal scrapers because they strip the non-stick coating. With regular attention, a good steam iron stays reliable for many years and keeps a consistent steam output.
Choosing the Right Steam Iron for Your Routine
When selecting a steam iron, focus on steam output, soleplate material, water tank capacity, and the number of steam levels. Stainless steel soleplates slide smoothly, while aluminium heats faster but needs gentler handling. A larger tank means fewer refills, and adjustable steam levels suit thin silk or wool blends.
For households that need both flat ironing and vertical steaming, a 2-in-1 rotatable model is the most versatile option because the pivot lets you switch from the board to hanging garments in seconds. The dry and steam ironing rotatable model is one example. Our article on how to choose a steam iron walks through the key specifications for common fabric types and usage patterns.
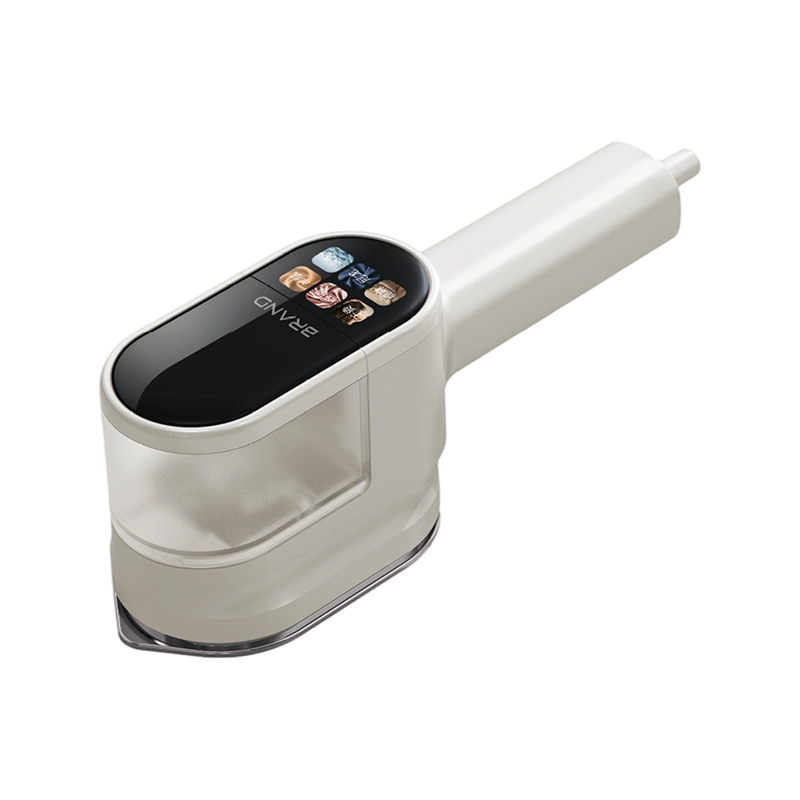 Wholesale Dry Ironing &steam Ironing Steam Iron MW-827F Suppliers - Ningbo MaywaMayway is China OEM Dry Ironing &steam Ironing Steam Iron MW-827F suppliers and exporter factory, We custom and wholesale Dry Ironing &st...View Product →
Final Checklist for Better Steam Ironing
Set the temperature according to the most delicate fibre in the garment. Fill the tank with distilled water and wait for the soleplate to reach the target. Work through the collar, cuffs, sleeves, and body, overlapping each stroke. Use the steam burst for stubborn creases and vertical steaming for hanging items. Empty the water tank and wipe the soleplate after every session.
These habits solve most of the ironing problems people report, whatever brand they own. The iron itself makes a difference, so choose a model with predictable temperature control and steady steam output. Once preparation and motion become consistent, ironing with a steam iron becomes a five-minute task instead of a chore.
For exclusive deals and latest offers, sign up by entering your email address below.